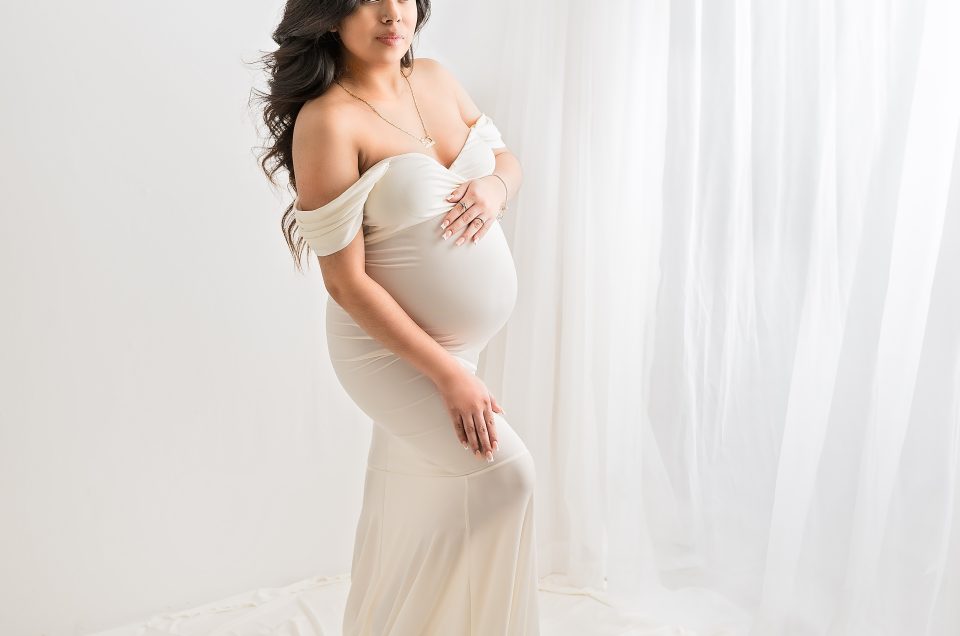
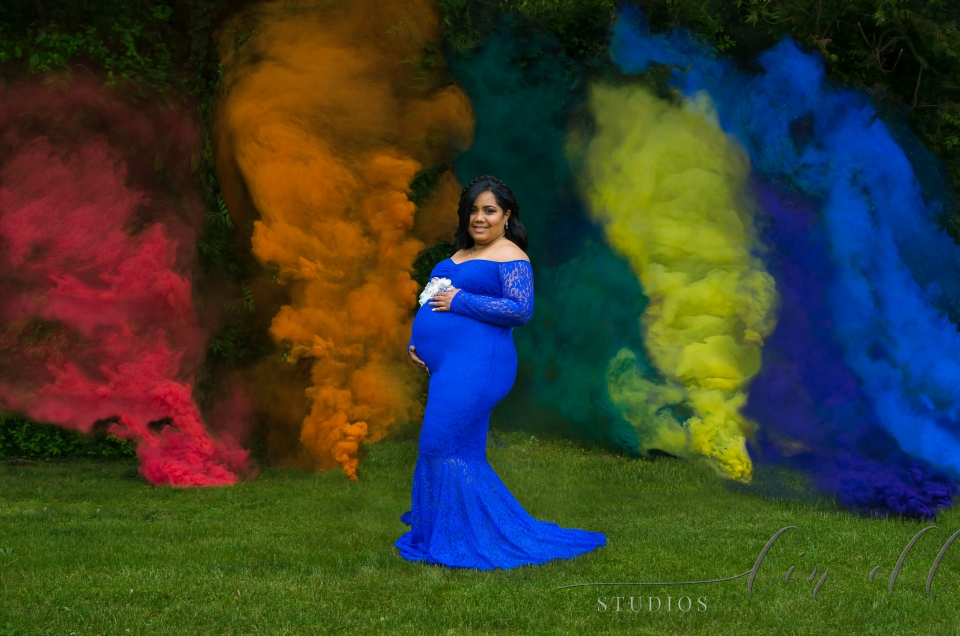
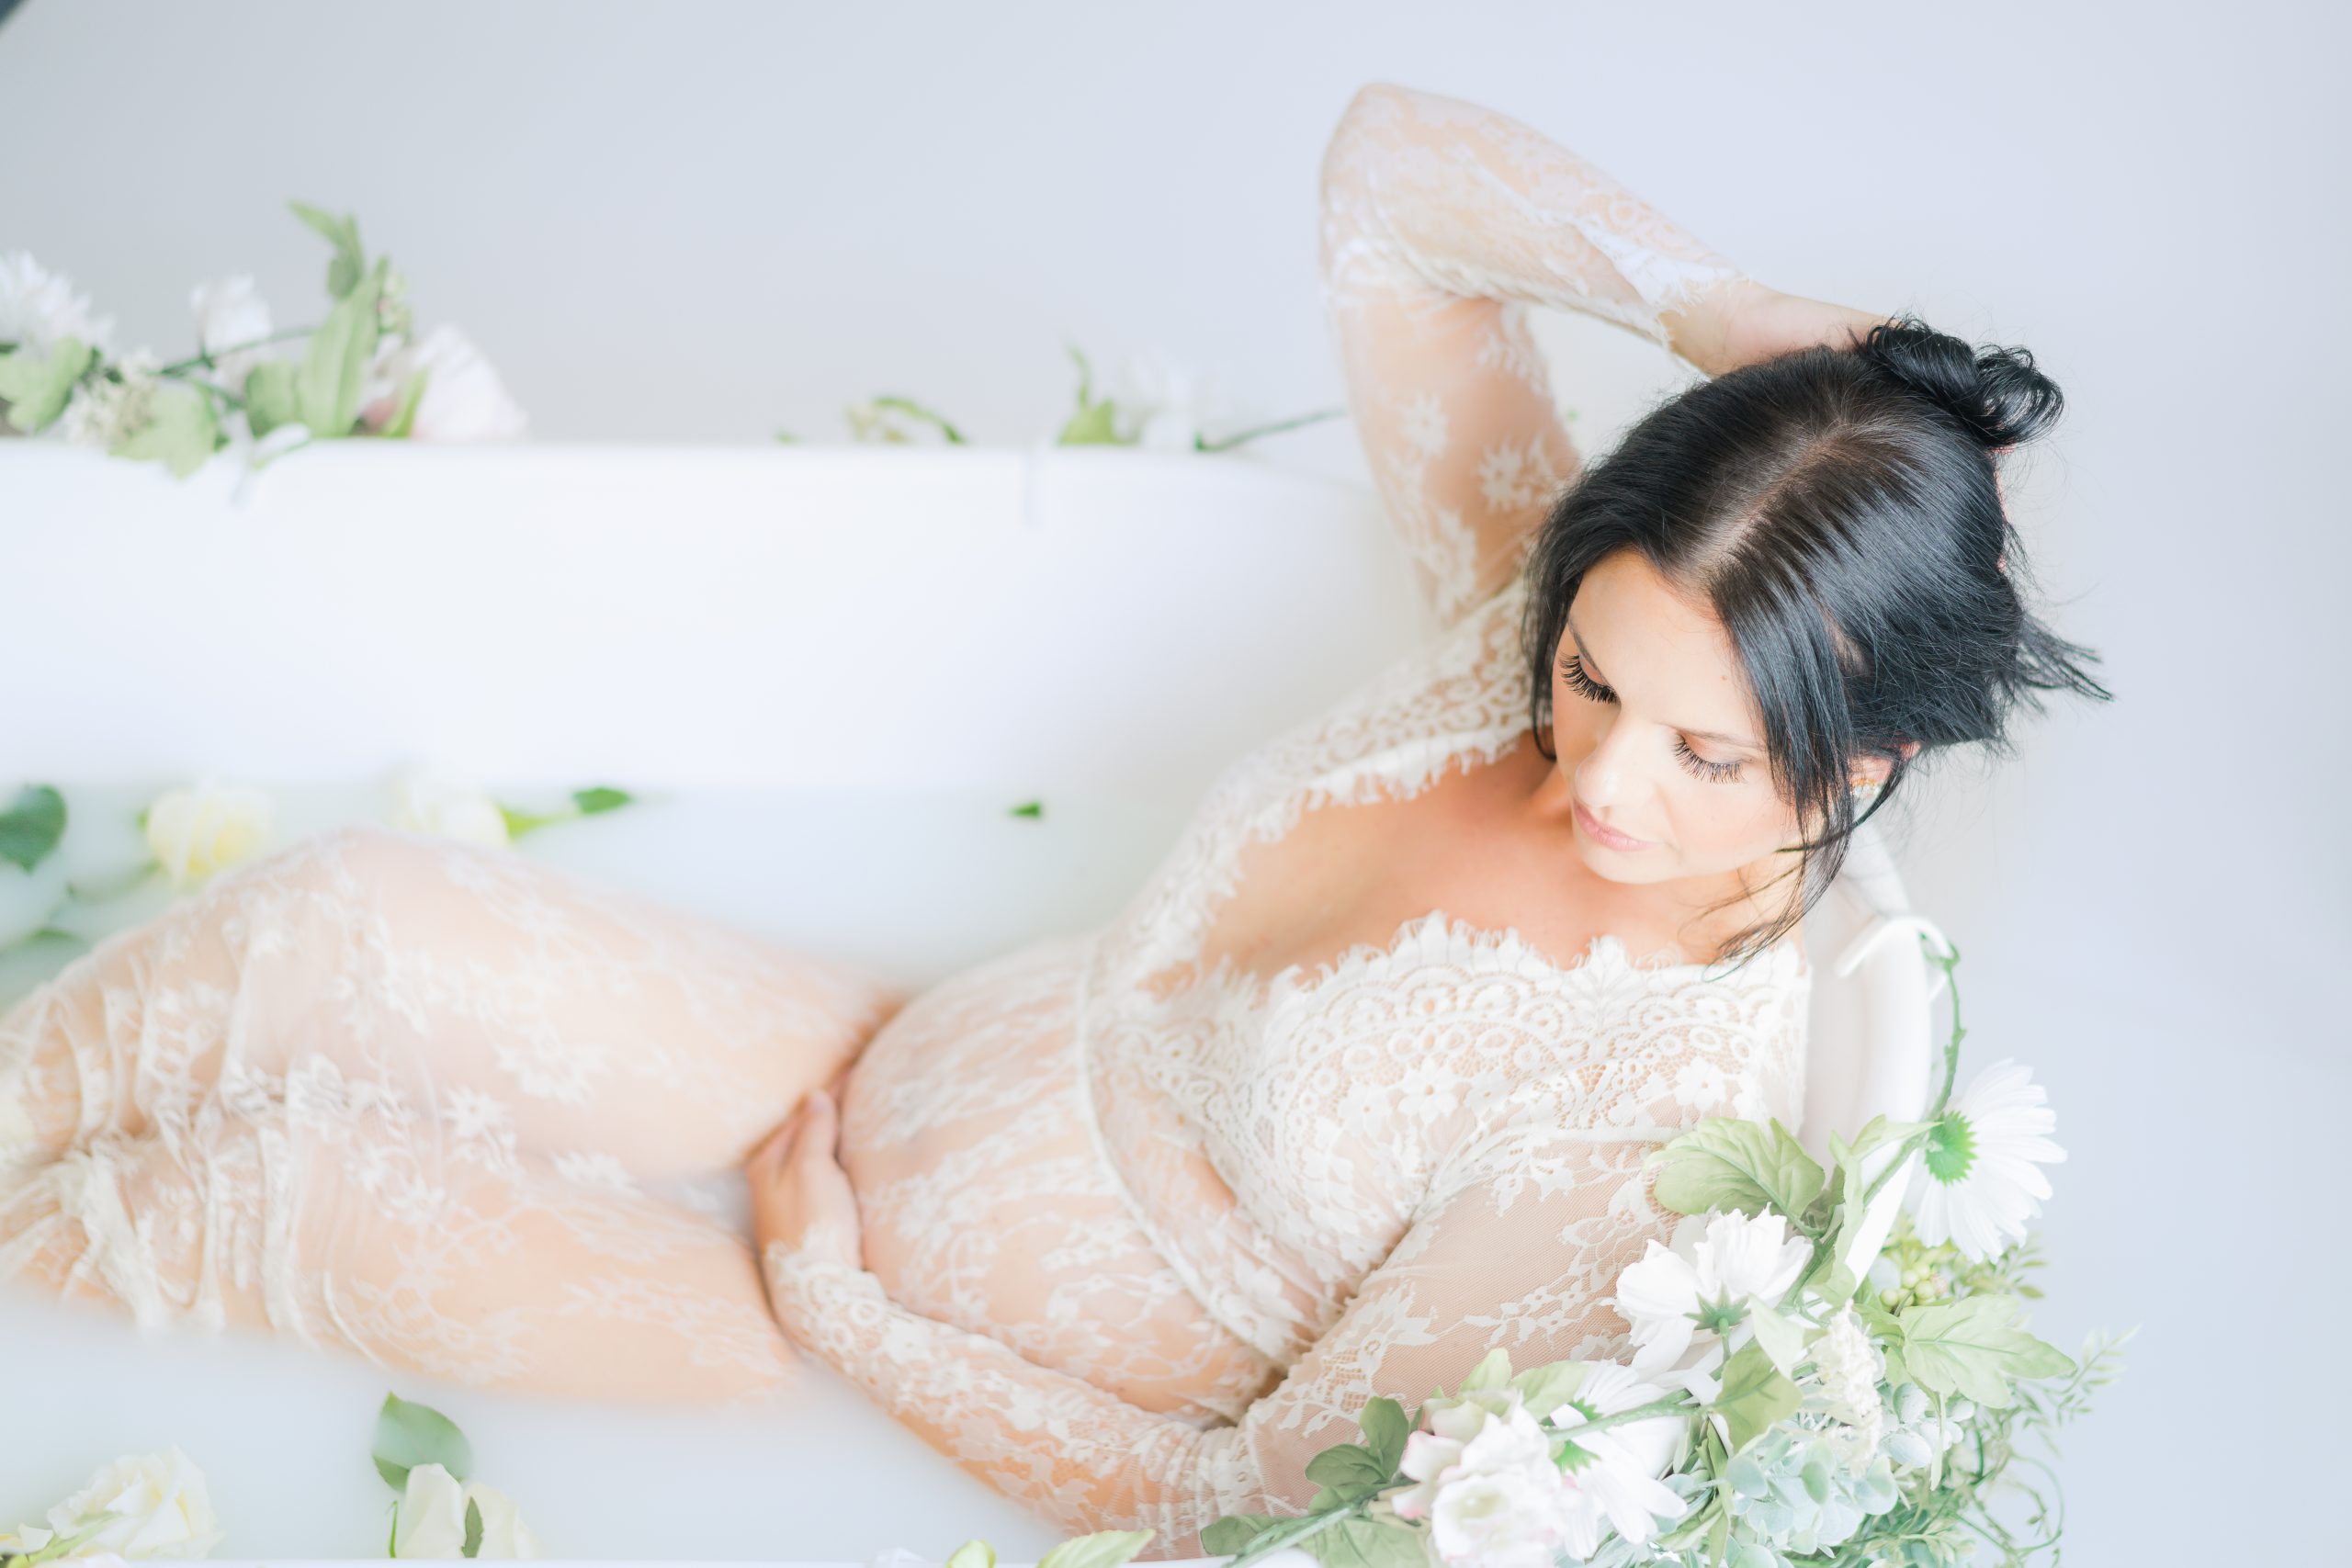
A beautiful maternity gown takes your maternity portraits from a casual “friend snapping pics” to a treasured and timeless portrait of you during this fleeting and special time. Not all outfits in your personal closet will make you look your best in your maternity session. You want to show off that beautiful mamma-to-be bump! Solid colors and a slim, form fitting silhouette will show off that baby bump beautifully. But let’s be honest, beautiful gowns can run to quite a few pennies. You can purchase or even rent your gown. Less expensive, but still can be pricey. Your photographer might offer a selection as well.
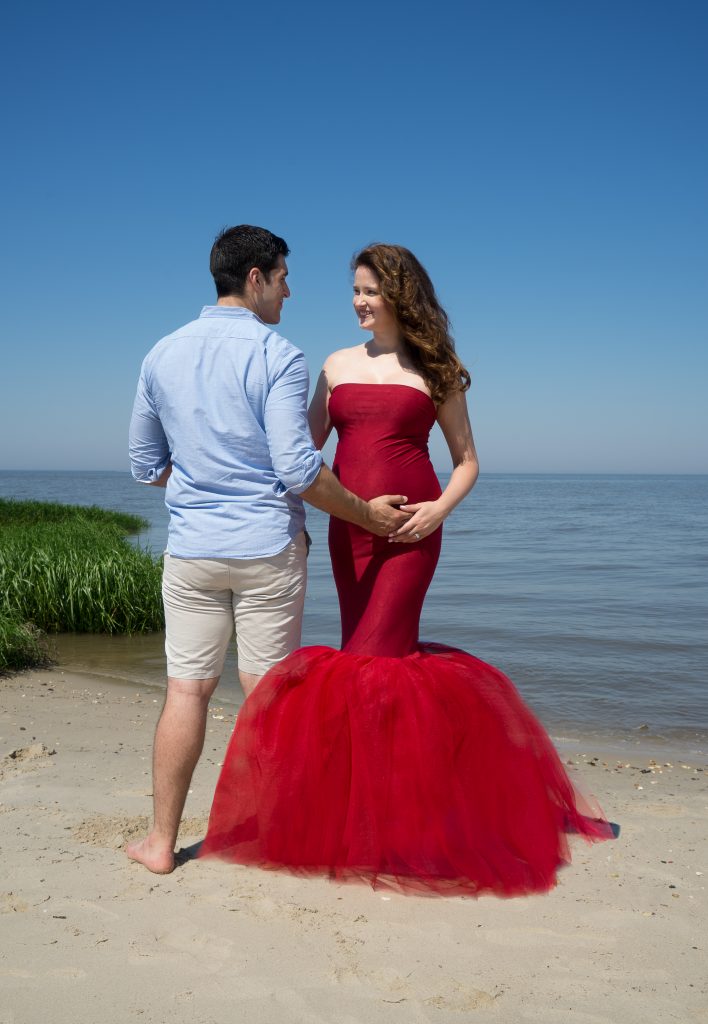
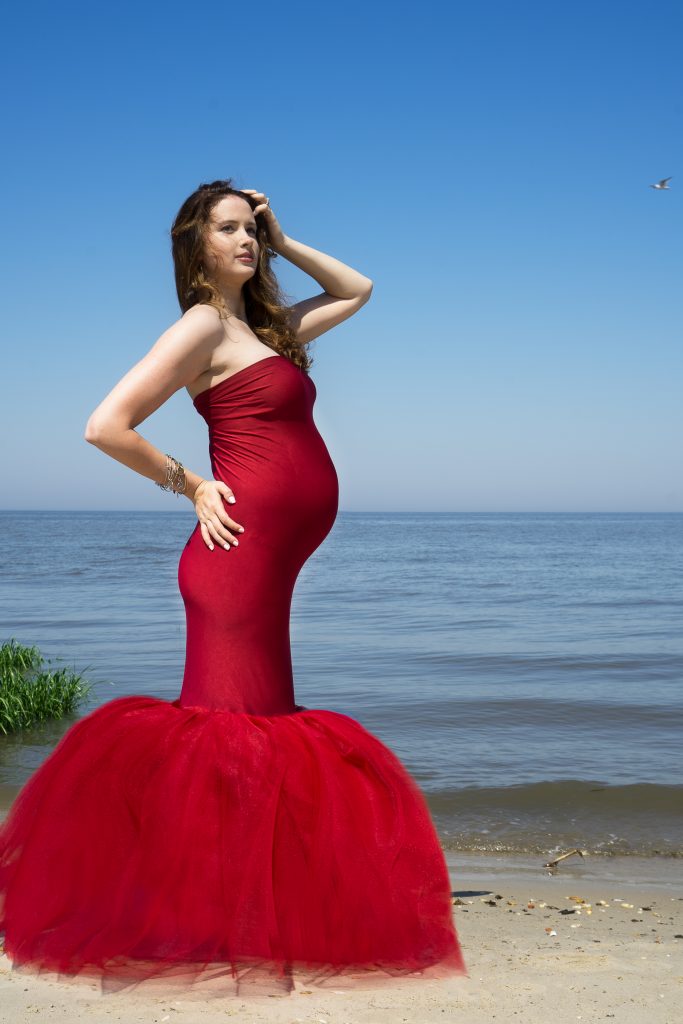
Here at Lin Ellen Studios in South Jersey, I have a selection of gowns available for you to choose from for your photography session in my client closet. I also like to create a custom look for each of my mommy’s to be. As we consult about location and style, we talk about your personal style too. Let’s make your portrait session as unique as you are! As I have shared before, I LOVE creating a unique session. I recently created a simple gown for a session and wanted to share a tutorial for those of you that might be crafty and willing to invest the time and effort to make your own gown! I bought very stretchy knit fabric remnant and a lot of matching tulle. It took me a few hours of my time, but the results…..well, see for yourself! I think I spent $20 on materials. I saw a similar gown for $350 recently. Yicks!
So, how did I create this? Check out a brief tutorial below.
- 2 yards of 4 way stretch knit fabric
- 8 – 12 yards of tulle
- 8 – 12 yards of netting (matching the tulle)
- Wide Elastic (Optional)
I first made a tube dress. I made mine 34″ around and the entire length of fabric. I can always pin it tighter if needed!
I found the stretchiest side of the fabric and folded the fabric over onto itself.
- Cut the fabric to 36″ with the stretchiest side on the 36″
- (18″ folded in half)
- 1″ seam ( – 2″ from tube)
- 34″ for the circumference of the tube!
- One long seam up the back. (I used a zig zag seam, and did it twice for reinforcement!)
Like my sewing machine?? Its from about 1979! But who is counting – it works 🙂
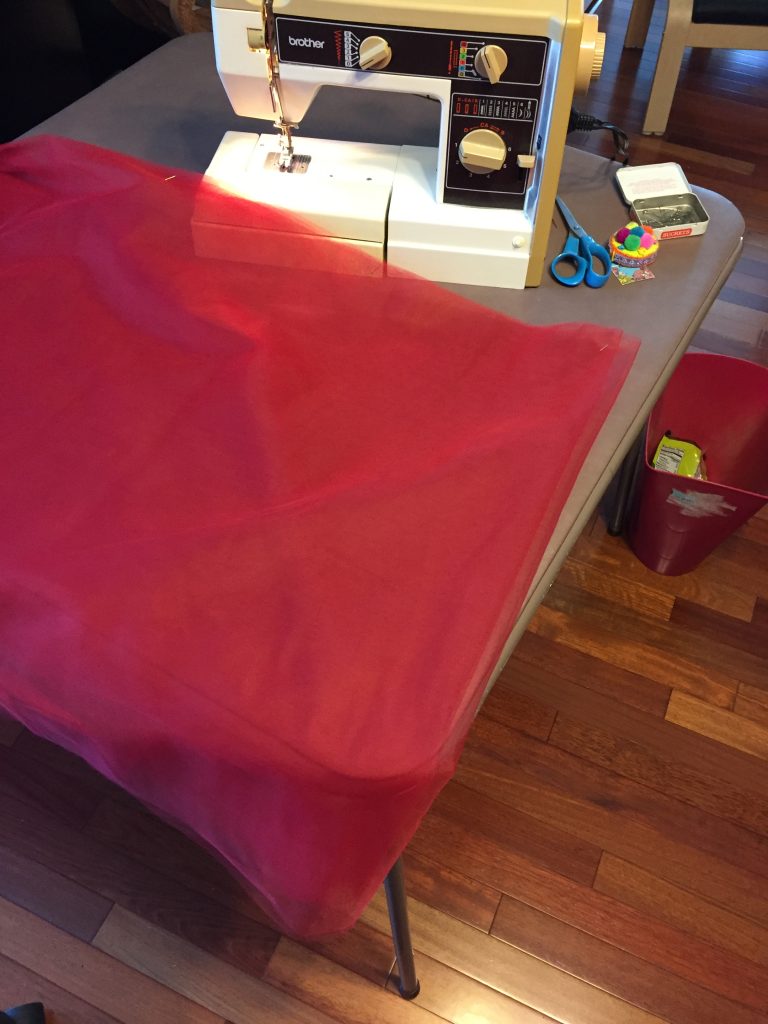
Honestly, I could have stopped there! Just fold under the extra fabric at the top depending on the height of the wearer. But I wanted a bit more glam! Let’s add tulle 🙂
On a whim, as I was buying tulle, I noticed a matching stiff netting. I wanted that extra pouf. So I got half netting and half tulle. Most of the construction time was spent wrestling the netting and tulle into submission! I wanted the mermaid skirt to start above the knee.
Luckily, the netting which was only 36″ wide, was the perfect height when held double and gathered then attached to the skirt. And the tulle was wider at 54″. The tulle was again held double and attached above the netting and fell past the netting to the floor.
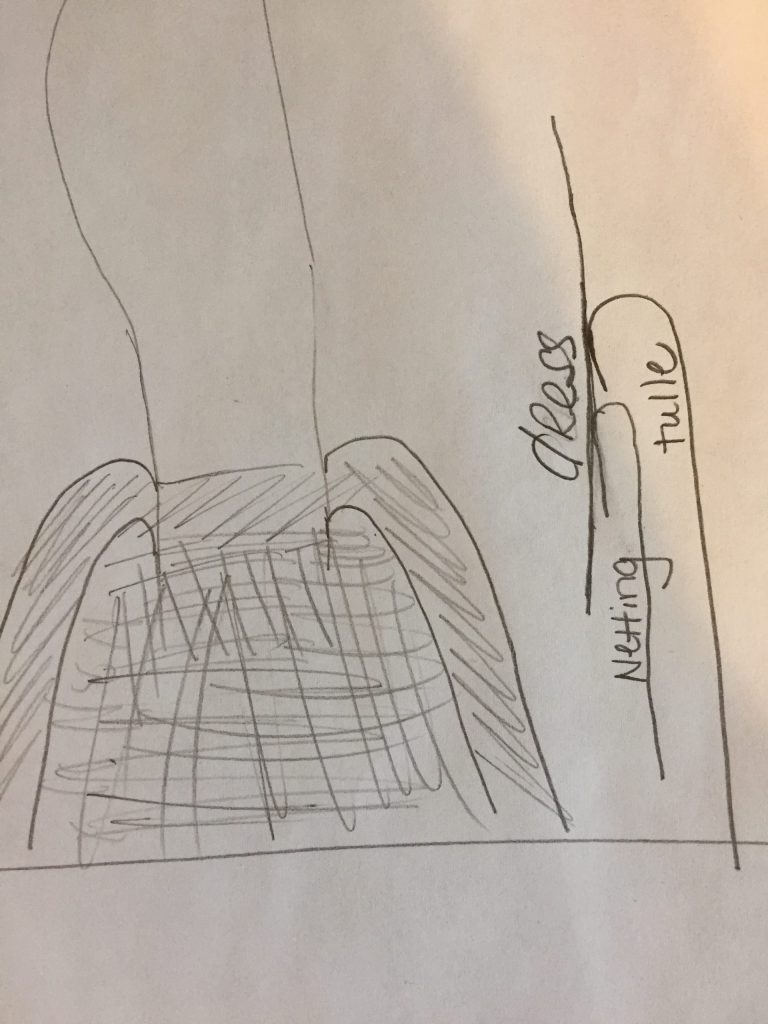
I ran a gathering seam on the netting (8 YARDS of material!!) and pulled it taut until I had approximately 34″ around. I attached the netting on the dress by positioning the netting right side to the dress and up along the body (NOT down!) Once sewn into place, and the dress held upright, the netting (and tulle!) fall to the floor with added pouf because it is basically sewn upside down.
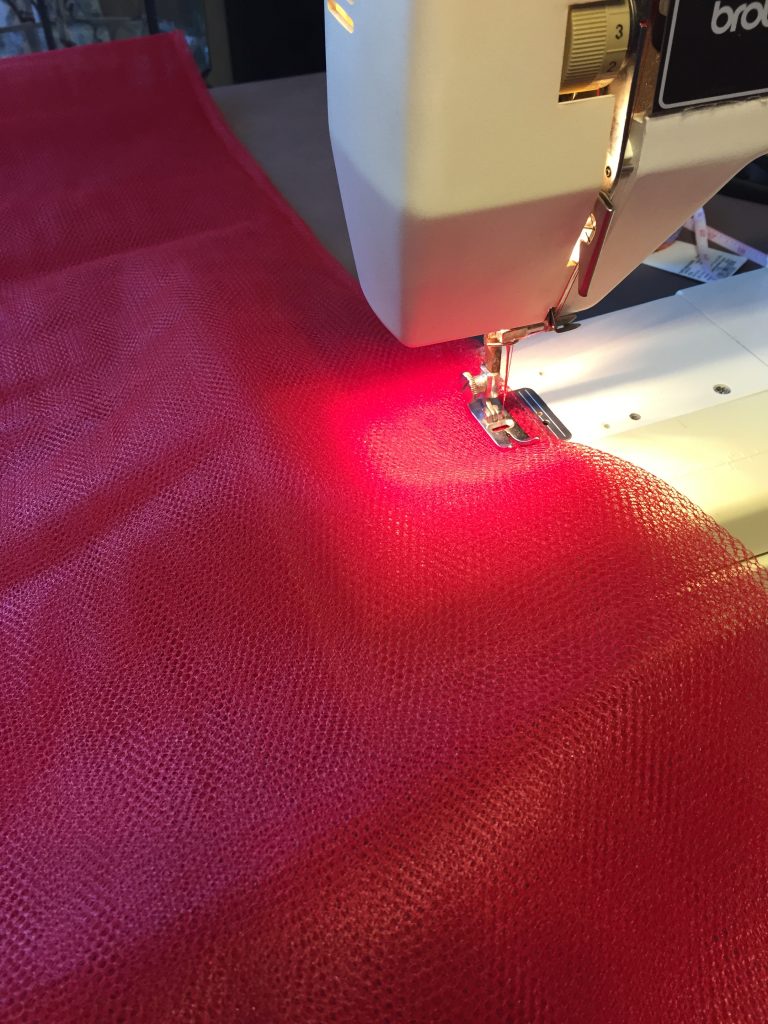
To increase the fullness of the mermaid skirt, I actually cut the netting into strips. I then hand stitched a bit of the the netting up to the seam to increase the amount of pouf the netting gave.

I repeated the above sewing procedure with the tulle. (not the cut in strips etc) I attached the tulle above the netting. Because of the length of the tulle, it hides the less attractive, but stiffer!, netting.


And that’s it!

If I had it to do over, I’d consider making the dress 30″ instead of 34″. Maybe. My model was very slender, maybe a Size 6?, so I had to pin it tighter. But the 34″ is good if I need a bit more room. I’d also buy more tulle. I used 8 yards each. I did a little puffing in post-production. and finally, instead of sewing the tulle and netting directly onto the tube dress, doing this again, I would sew onto a piece of 1″ wide elastic (same color) and then attach to the dress. Might give the skirt a bit more stretch. It was fine as is, but I’m always looking to improve.
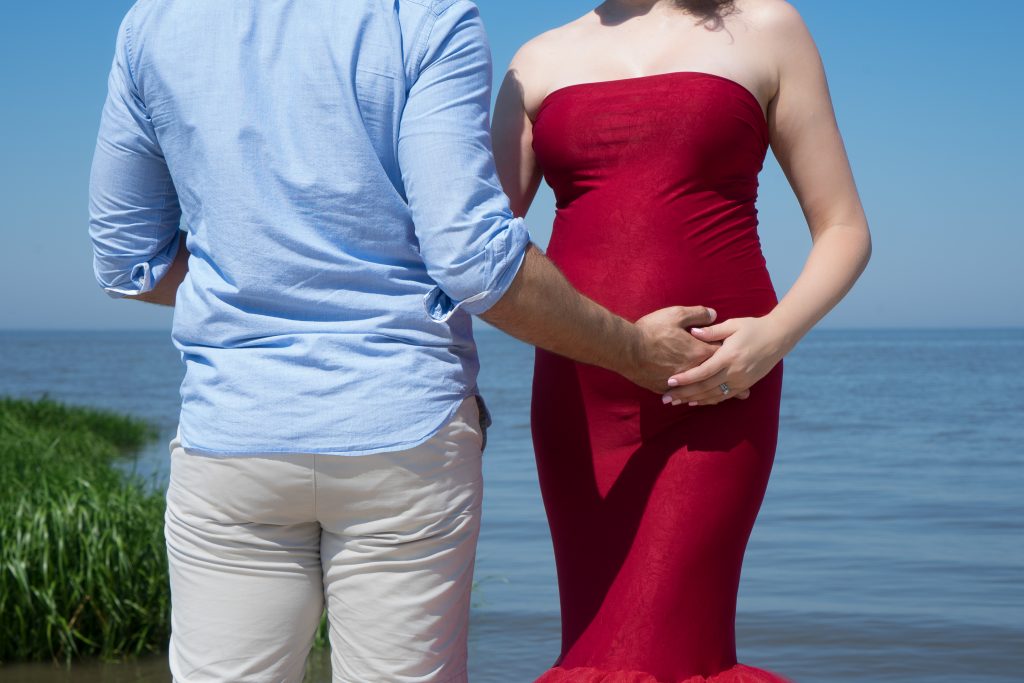
But, just a couple more of this stunning mamma to be and her beautiful baby bump! I just loved these two! Location is in South Jersey, on the Delaware Bay. Great spot for maternity, baby and family beach photo sessions!

